It's been awhile!

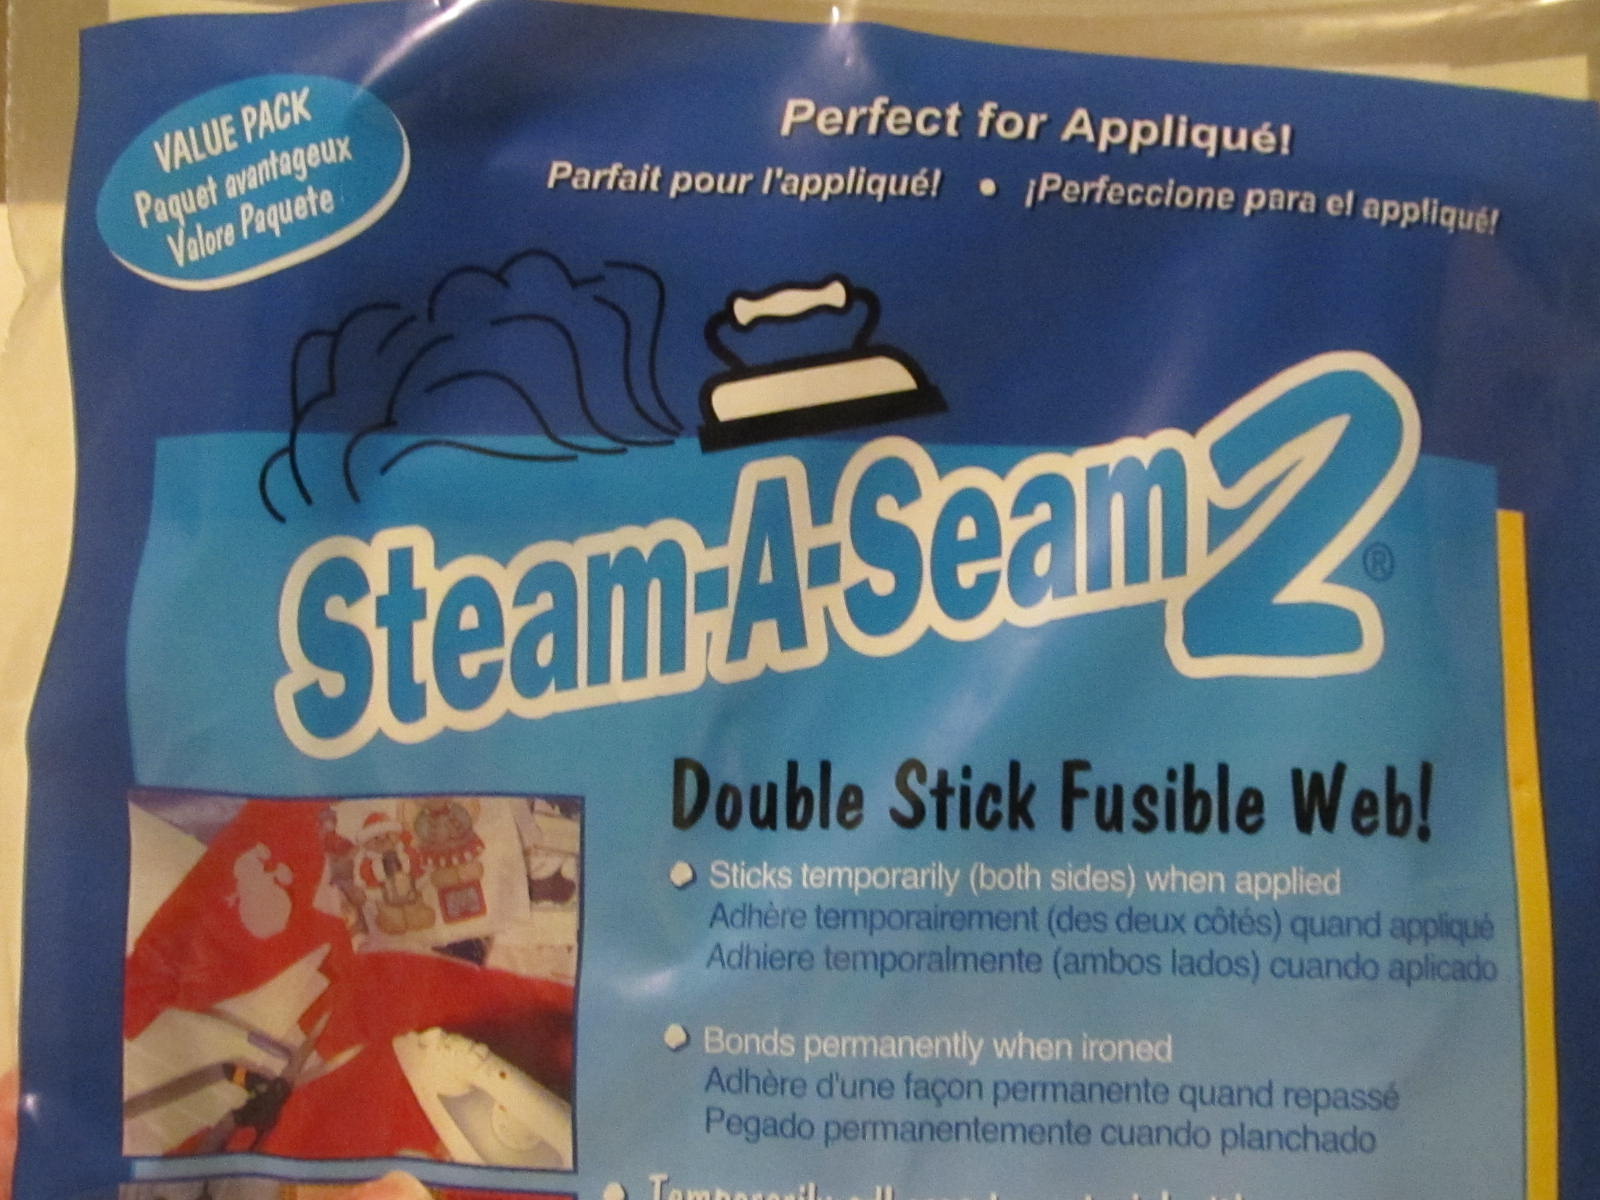
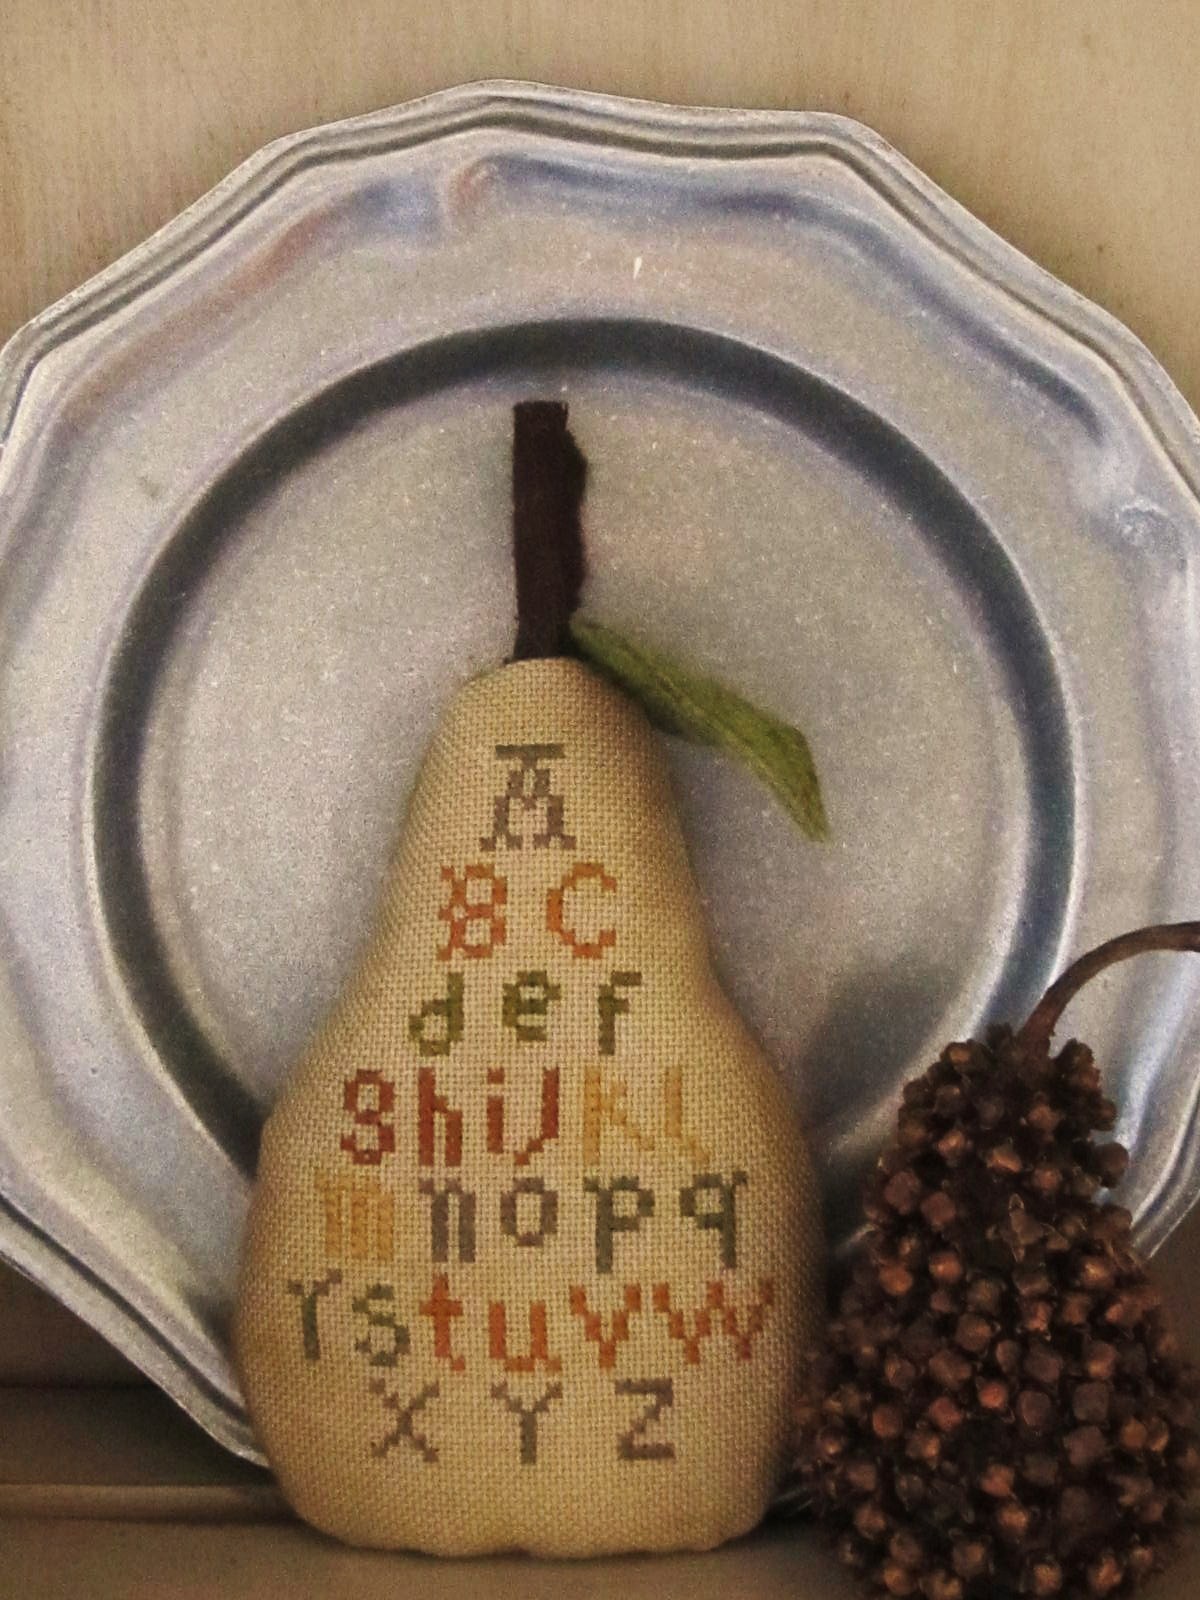
Hi everyone.  Aren't the weeks flying by?  I hope everyone had a nice Thanksgiving.  We're having ours next Sunday because my brother wasn't able to attend.   I already ate two pumpkin pies so apple and elderberry will be dessert with the turkey.  My thumb finally healed and I completed the little sampler along with a few more sewing projects.  Husband was sweet enough to wash the walls for me and while we were moving everything around, I kind of misplaced it.   The fabric and chart for the second sampler in the set is with it and I'm sure I will locate it soon. 
I'll be decorating my little trees with lights tomorrow and am hoping there are no incidents.  I have no patience with light strings.  None.  Last year, a six foot pencil tree (the skinny ones) became a tree rocket.  I tried so hard to be patient and calm, but after so many tries, I slid open the window next to the tree, and threw it like a javelin.  It didn't go very far but far enough to clear the window frame and have the squirrels scatter.  Felt good. 
I bought teeny lights this year and they work really well on primitive trees.  The bulbs I use on the window candles are silicone coated.  They sell string lights with the coating but they are pricey so ..... I make my own.  It works on the teeny bulbs or the regular miniatures.  You can purchase clear 100% silicone caulk, or use white or ivory.  The clear allows more sparkle and light and the solid gives more of a glow.  It has to be silicone, not the acrylic blends. 


If you have a basement or garage to hang them, it makes it easier since they will be drying out of your way.  Secure each end so the string hangs high enough to be accessible for dipping.  Make sure it can't fall or you'll have a real mess. They really should be hanging down so the long swirl tip won't bend over.   I squeezed the caulk out in a little pile into a cut off styrofoam cup but it works better on something flat.  Dip or roll the bulb until it's covered and either leave the top swirl or just pat it into a ball.  Move on to the next one hanging from the string.  It takes several hours to dry and you can go over them again for a really thick coating if you'd like.  Mistake?  Just peel it off and re-do.  It's best to wear a pair of exam (latex) gloves because the silicone is completely waterproof and very hard to remove.  The caulk starts drying quickly and becomes thicker and more difficult to dip, so squeeze out small amounts at a time.  I may try one with ivory/beige this year too.  It lasts forever.
I had a few emails about the nut garland that I mentioned.  All you have to do is drill any nut and string with fishing line or wire.  I hold each one with channel locks or large pliers because they can roll while you're drilling.  For my small trees, I use the hazelnut garland which I display all year hanging over a window.

 
I haven't found the bins of nuts this year so I resorted to buying the bag which is more expensive.  Almonds do not string well and pecan shells crack more easily so I stick with walnuts and hazelnuts.  I make large garlands with pomegranates, walnuts, and dried oranges, but for small trees, only hazelnuts. 
 I've been checking EBay for santa charts among others and they aren't even selling for $1.  After Ebay fees and especially Paypal, if you charge .$50, you end up with $.15 so it's really not worth the massive amount of time to scan and list each one, then pack and mail.    You can list up to 50 items free every month and those fees are only if the item sells.   But it's so much time to scan and list and I see many of the same charts not selling so I plan on donating or recycling.  I did list and sell the Shepherd's Bush stockings, mainly because the Cork linen was included.  I have a few things on now, and will be listing the large Cinnamon Stick santas with fabric next week.  At least I got rid of all the 19 count and am hoping these charts w/fabric will also go, along with a full yard of Klostern.   If you are interested, my Ebay ID is early-works and you can find me here.
That's about all I have for 'ya.  Hope you have a great week and nice weather.  The "s" word is in our forecast.   Drat. 
I welcome and appreciate my new followers.  Thank you thank you thank you.  I hope I won't disappoint you and plan on showing more needle to fabric.   Till then, thank you for visiting, stay safe and warm!


A wonderful surprise!


Hello everyone. I received the most wonderful surprise and personal gift in the mail Saturday from Connie and have to share it with you. She stitched and finished this Notforgotten Farm design from the winter issue of Primitive Quilts and Projects magazine. I am so thrilled! Connie left the strap very long so I could adjust to my display (and the buttons holding it are so sweet) and it worked perfectly.


It will hang on my window trim in the family room but for the holidays, I decided to hang it in the dining room with my orange slice garland and my five foot tree decorated with dried citrus. The colors are perfect and Connie, thank you again, I so love it!


Here's the third and final finish for the PA  Redware, now hanging in the kitchen. I was not real happy with the mounting, but kept my mouth shut because I like her and it was a slippery day. Some days I let things slide off my back, and some days it's like flypaper, sticky from a flash, the smallest irk trapped, held there, grinding away, digging into my back, until I have no choice but to rip it to shreds. Today was her lucky day. I also finished all the little Santas with the stiff interfacing and am very pleased. SO much easier since Vonna's site showed me how foolish I was in rushing and not evenly trimming the piece at the start. My presser foot rode along the edge and I wasn't concerned about following the weave.

I purchased small rusty looking jingle bells today and may outline the edges with a few, or just the corners, or use a homespun strip for garland and attach to the top corners with big buttons, or not, just use big rusty jingle bells hanging from the homespun between the Santas.....OK.  Strip of homespun, very large rusty bell between each, medium bell hanging from the bottom of the pillow.....no.  Oh hell.   Never mind.  Whatever I do it won't be the end of it anyway.
And as for trees, I bought another small one, a three foot that is the same style as the two foot I showed last post. I have enough trees in my attic to open a Christmas shop, but I can't help myself.   With so few shops around here and even less that offer a more primitive tree, I grab it when I see it or it will be gone.

This is a another three foot and one of my favorites that will get tiny lights with tin and pewter ornaments..... or not.

  Maybe just nut garland.  Yes - nut garland!  And tiny lights.  Silicone dipped lights!  Originally, the Santas I just sewed were to be ornaments but the older I get the smaller my trees get, and they are too large for a small tree.  I would love to have a large sampler tree like Linda Wallace's tree on Mary Beale's site. She notes that some of the designs are parts of a larger sampler. Neat idea - I never think to do that.
 
  And finally, here's Junior.  Dad is still watching over him while he plays with absolutely nothing.  
 
I hope you all have a wonderful holiday weekend, whether at home and quiet, or out with a group.
Thank you for visiting and Happy Thanksgiving.


****************************

Fingers and food

Hello everyone!  Hope there is sunshine in your day.   It finally broke through the clouds today after days of wind and rain and it is cold!  The sun makes it a little easier to tolerate, but I still hate it. 
First of all, thank you thank you thank you to my followers.   I know I don't always show enough stitching and usually get off track, so I appreciate your sticking with me.   So what have I been up to?  Not much.  I tried fully opening a pair scissors to use one blade as a scraper, and it sliced right into my right thumb.   The slightest pressure caused it to bleed so I used surgical strips to keep it closed.  Trying to grab the needle was difficult to say the least, especially with a bandage.  In another brainless move, I removed the protection and although extremely sore, I managed to grab the needle, until the eye hit exactly in the cut and sunk in.  Yikes.  It is finally better and not throbbing so I started a small project.
I plan on doing both of these small samplers and trying to frame them myself.   Lydia is first, and I only made one color change.  The linen I chose is the SL 25 count that I bleached, dyed, and dried on high heat.  Here is the comparison of the before and after.  Look how that weave tightened.  It's very soft in hand but substantial and I like the results.   After starting the project, I checked stitch count and here it is - looks like it is now 28 which is great.

 So now, for the first time, I have three projects in the works.  Lucy, Red Santa, and Lydia.  It's not as bad as I thought it would be considering my difficulties with decisions. 

Next, I want to mention that I posted several new recipes.  Two are Thanksgiving standards that can be made ahead.  The first one is a better green bean casserole.  The second is sweet potato pie casserole.  Our other favorite for turkey day is the cranberry walnut salad.  I also added an odd sounding dish but believe me -it is good - corned beef with peaches.  I know - doesn't sound even remotely compatible but you'll be surprised.  And finally, a few new purchases.
I love drawers and purchased this locally with a 20% off coupon.  I hated to pay that much but it is really necessary to keep me organized with receipts.  How does that sound?   Justified?         It's on the kitchen counter and on top of it rests my new little tree...


It's 18" tall and in the crock, perfect for the kitchen.  I am getting away from the big trees and prefer something smaller but it's not easy finding one that I like.  Very few shops around here carry something different. 
And finally....are you ready for this?  I think I may trying dyeing/staining my sofa.  WHAT?  Woman are you crazy?  Of course. 

The sofa is like new (but too large) and I know I wouldn't get enough $$$ selling it, so I thought before I have it recovered, why not try changing it a little first.  The fabric is Waverly's cotton and has sizing or protection because water is beading up.  So I sprayed it with water that had a touch of Dawn in it and let it dry.  Then - black walnut stain.  Here's the sample of fabric I worked on.  Next will be the back of the piece to test a large area.  If it works, I have a matching wing chair so I better stock up on the walnut juice.  Wish me luck! 

Final note, to those of you who emailed about the Postman Santa - the wonderful people at Leisure Arts located the chart.  That design is from Christmas Portraits, a hardcover book from the Christmas Remembered series, published in 1991. It is discontinued and no longer available but EBay and Amazon have the book.  The little chubby guy on the box from my prior post is Mosey 'n Me's Hanging by a Star #34.
So ladies and gents, thank you for visiting with me, and I hope you have a great weekend.  Can you believe how late in the year it is already?  Closer to next summer is the way I look at it!  

Still at it!

Hi all.  I'm still experimenting and making mistakes as I go along, mostly because I am impatient, always looking for the quick way, and skipping steps.   I spent a good deal of time reviewing VONNA's BLOG dedicated to finishing.   Well worth your time if you haven't visited previously.  She stresses that taking your time and paying attention to details is key to a nice finish.  I'm like a fly with no place to land.   Reading her finishing blog made me realize that all these different methods are great choices, but without proper execution and preparation could be very frustrating.  First of all, using a measurement guide and a rotary cutter starts the project with perfect size and accuracy.  I have those tools.  Somewhere.  From now on, I plan on starting my projects as she recommends.  Today, I worked on the largest project and a medium size and am happy with the final results.


And here's the box remodel.  You knew I was going to change it didn't you?    I took the entire piece off by reheating the fusible facing which allows it to be removed, and pulled the ribbon off.  Using a fusible fleece between the box lid and the fabric gave it a little softness without bulk and it looks better.  I reglued the side edges and then ran a continuous bead along the rick rack.  I painted the box the barn red of his jacket, and the trim is a little darker than his jacket.  It looks terrible in the photo which seems brighter and bluer than the actual colors.  Cute huh? 
 But it's not my style so he's going to live with my sister.   I've tried to understand what attracts me to the colonial/primitive style that I love.  Staining samplers and quilts with coffee and walnuts, beating wood pieces with hard objects for dents, stabbing with sharp objects for holes, scraping and deliberately peeling off paint, and generally making it look dull dusty and discarded.  Is it really because I hate to dust and clean?  Beautifully waxed and smooth finishes reflect the light and show every speck of dust and pet hair the minute it lands.  Go to the home of a primitive lover and you don't know if it's dust, or a finish that took hours to create. Are they terrible housekeepers?  Or great craftsmen?  No one really knows - and that my friends is the beauty of primitive style. 

I have to mention that I used to make my own clothes, including designing and sewing both prom gowns.  One was a fitted spaghetti strap satin slip under a sheer organza long sleeved satin edged gown with large organza flowers from the knee down.  Gorgeous.  And here I am fretting over finishing these stitched pieces!  That was a very long time ago in the land of patience and youth. 
Now for the finishing of the large Santa. I fused the stiff interfacing before stitching and included it in the seam.   I used a quick press on the edges of the facing so it wouldn't be completely fused and it lifted for trimming later with no problem.  You've seen in prior posts that my fabric edges are, shall we say, random.  So this time, I found the see through ruler (but not the rotary cutter) and measured from the stitched edges about 1", and marked it with a pen on the front side.   Then I ran a line of stitches on the pen mark so I could see this guide from the back side since I can't see through the facing.   I used that line as a guide for the edge of the presser foot and it worked!  I had a centered and balanced design with straight seams.  Then I pulled the facing off in the seam allowance and clipped it very close to the seam. 

I clipped the corners and pressed the seams open, and because I used a very heavy backing fabric, I didn't line it with facing.  Once it was turned out, I thought it required more structure so I ended up fusing the Decor Bond to the backing fabric within the seam lines.  Better.  Four layers of quilt batting filled it nicely.  I glued the bottom hem closed and attached the brown cord with glue also.  Wacky Angel has the Craft Fuse on the entire piece of linen including the seam, but the backing's facing is within the seam lines only.   I think it came out great.  I'm pleased - which my husband has always claimed was impossible so there you go.  I plan on using the Craft Fuse from now on unless it's a really primitive piece or pincushion.  I like it sewn in the seam and then trimmed, and it also bonds the fabric so I don't have to worry about clipped corners fraying.  I think I've found my go-to method.  For mounting on a board with or without fleece, I've practiced mitered corners and will use this method.


It makes a nice flat corner with all raw edges covered.  The last tip I received was from Joy about using muslin as a liner instead of interfacing, and that's what I will do on the more primitive pieces.   I'm anxious to try this but all I have to complete are Santas right now.  Time to get back to stitching!!  So that's it folks.  The end of the finishing adventures, but I said that about bleaching and dyeing my linen yet I kept going, didn't I!  To everyone that sent me suggestions, their secrets, methods, and favorite tips, I thank you.  I've learned a great deal, and more importantly, that stitchers are always willing to offer help to fellow stitchers.  I'm sure there are more blogs to search for additional tips and I will find them all eventually.  For now, I'm feeling pretty confident in being able to complete my projects.  No matter how many times I change them.  The PA redware piece I completed recently and make into a pillow is now at the framer.  It's being mounted with hemmed edges on matboard which I already did, and a simple flat frame.  I almost fell over from the price of this very small job.  I planned on framing Fanny too but I'm cheap and it will take me a while to recover.  I may be going back to making my own frames.
I see that my followers have increased and I'm thrilled.  I thank you all very much and hope that you continue to find something of interest, and if not, please let me know.
Have a wonderful weekend everyone.  Thank you again for visiting and sharing!

Methods to madness

Hello everyone.  I've been busy helping a friend who moved her mom to a nursing home, and working on fall chores while Mark has some time off work.  I'm getting back to finishing experiments, and confusing my well-worn menobrain.  This first one was very easy.  I couldn't decide what to do with this little guy and spotted a paper mache box, which led to this.


I just folded the bottom following a linen thread for straightness, and pressed.  Then I did one of the sides, laid it on the box lid along those pressed edges and folded and pressed the other two sides, matching the lid size.  Following the fold lines, I attached
the fabric to the lid using a double sided tacky fusible web, and pressed to adhere.  Once fused, I trimmed  the excess and used Liquid Stitch glue to adhere the cut edges to the lid edges.


I probably should have trimmed it to the bottom of the lid's sides instead of half way down, but this was my first attempt.  I also could have been more careful and made the edge straight, but I wasn't thinking that far ahead.  The next step was to add a line of glue to the fabric and also the lid edge, and attach trim.  I used an odd shade of green grosgrain ribbon and ended by folding the raw edge diagonally.  To secure the end, I used a clip to hold it in place while the glue dried.  It looks a little bumpy in the photo but I hadn't yet smoothed over the ribbon to make good contact with the glue.

Done.  I've attached stitched pieces smaller than the lid size with frayed edges because I like a primitive look, but this was Jobelan and doesn't lend itself to that style.  The next experiment was a linen ornament, and I tried stuffing with no interfacing, and then fused the stiff facing to see the difference, if any.  Well, there wasn't much!  Without the facing, more stuffing was needed, and I don't care for that "star" appearance when the corners are out further than the fat middle.  Using the facing allowed for less stuffing and I prefer that flatter look.  I heard from several stitchers that the facing could cause a dent, being less pliable.   And here it is.
It's like the difference between plain paper and card stock.  Once it's dented or bent, the card stock won't smooth out but the lighter paper will.  Too much filling in the center first, can create side dents with the stiff facing.  I also heard from a stitcher that fused the interfacing 1/4" from the seam, and included it IN the seam which she said creates a very nice smooth edge.  That certainly makes sense.  Need to try that next!
So there are pros and cons to using the stiff facing, and it depends on the look you want.  It doesn't lend itself to primitive style, walnut shells, sawdust, beans, etc.  Smaller pieces needing structure, or creating a less puffy piece benefits the most from the stiffness.  I remember seeing a tutorial for a mattress style pincushion and her finishing technique HERE which could be adapted to a front and back piece without the middle strip.  Yet again, another finishing method!  It requires backstitching, and then hand stitching all four sides closed.  She has one of the most fabulous blogs and if you haven't seen Cote Passions, please take a look at her albums on the left side of her blog.  Such wonderful photos and projects.  You can find her entire blog HERE.
        I also finished Vonna's scissor keep, painting and distressing in a barn red.  Thank you again Vonna for such a great idea and project!
 I started BOAF's Red Santa and I'm enjoying these little designs.  I love the linen I'm using and I sure wish I knew its name!


And finally, Junior has been making more appearances.  He is a clone of his dad and wants to follow him everywhere.  Dad is always looking out for them and it's rare if he and mom aren't together.
These cat houses are the styrofoam coolers that we always have for strays providing warmth and protection.  We have a temporary shed roof to keep out the rain, and duct tape on the cut opening because junior seems to love tearing it up!  Poor little one has no siblings for playtime and is alone most of the day while the adults roam in the woods.   Junior attacks mom and dad whenever possible and hides as soon as he sees me. 
So that's it folks.  Between bleaching, dying, shrinking, gluing, ironing, fusing, sewing, and stuffing experiments, I'm not getting much stitching done.  But I think it's worth it since I have so many finishes to do, and why should I keep completing projects and putting them in a box?  Once I know what I prefer and which method is appropriate for that look, I can complete and enjoy my projects.  So I will continue trying the methods I find online, the tips I'm receiving from readers, my own made up attempts, and will hopefully learn which is most attractive and professional looking for my level of finishing.  Until then, wish me luck!  Thank you so much for reading and all your help and suggestions.  It's greatly appreciated.  Finish off your week with good days and sunshine.  Talk to you soon!

Finishing a freebie!

Hello people!    I'm still playing with interfacing and decided to try a shape without corners.  Since I don't have any - that I can find or remember stitching - I made one up.  And guess what?  I don't like it.  I used Jobelan for the project as a test for the Santa ornaments.   I would have much preferred one floss color for the alphabet on an unusual linen color.  And after all my bleaching and dyeing - I have that!    Instead, I picked five fall colors on sage Jobelan that was later coffee stained. 

I'm going to post the chart and template at the end of the post if you would like to stitch the pear.  If you don't want to be bored through my photos and routine instructions, just scroll down.   Blogger has changed the format when you click on a photo but you can still right click to print or "save as" when the new page opens.
*******
Please understand that posts sharing my experiments or trials certainly are not meant to imply that you need my advice or that I know it all.  After 25 years, I'm learning again, and dragging you down with me!  I get emails from readers asking for more clear information on subjects, as well as emails telling me the mistakes I am making, or suggestions to help.  So I'm learning from you while I'm sharing my progress.   
*******
    After I stitched the piece, I used a marker and just followed the outline at least an inch from the stitches on one side.  Folding it exactly in half and then cutting on the outline gave me evenly matched sides, then stitched right sides together to a piece of felt. 

I used my presser foot as an edge guide and I could have sewn in a little further for a smaller piece.  Now to cut the facing.  


I placed the pear over the facing and used a thick needle to pierce through the seam, poking holes in the facing beneath.  You then have a perforated outline to trace, fold, and cut.  I had trouble seeing the holes so I placed a dark fabric beneath.  Minor adjustments and cuts were made to fit inside. 

 After pressing the Decor Bond, I decided to hem it a little higher and had no problem pulling the facing off the fabric a little and cutting more off.  If you need to make an adjustment, reheating with the iron will allow the facing to be lifted, repositioned, or cut.  Pressed the seams open and turned it out.  No facing on the felt, it stood by itself, and held the shape nicely.  

I'm using quilt batting again instead of the loose fill and just cut to fit the shape.  Pretty easy finish once again!  Now I'm anxious to see how both coarse and fine linen work.  I did finally get a silicone finger to prevent burns when ironing seams open and it worked fine.  (And hid the crooked bumpy joint.)


 So here's the chart if you would like to stitch the pear shape along with the template.  I had a heck of a time trying to get this to scan properly.  Click on the chart/template, then right click and hit print and it should print the correct size.  If not, try "save as".   I must have used half a ream of paper testing the copies and scans but I did get a nice fire out of the deal.   I'll test again once it's posted and if it doesn't work, I'll try again.  Your seam will be stitched inside the template, width depending on your seam guide.  Don't forget to add a little rolled piece of felt/wool for the stem, or a real one!  Add the little leaf and there you go.  I think I will stitch one on my saffron linen, a greenish shade, and a darker brown, all different thread counts.  Several sizes and colors in a display might look pretty darn nice.  And if not, they'll make a nice hostess or exchange gift. 
Hope you like this little freebie!!!  
Thanks for the visit.
Oh!  One more thing.  If you're a Yankee Candle fan, they are having a buy 2 get 2 free offer on their large jars and tumblers.  Go to their website and use code CATH211 or I can email a coupon to use in participating stores.  Great holiday gifts for a good price!


make the t shirts from here

T-shirt transfer-this is the only method that I ever try if you have a shirt I own. You buy a t-shirt transfer sheets, print design, and ir...